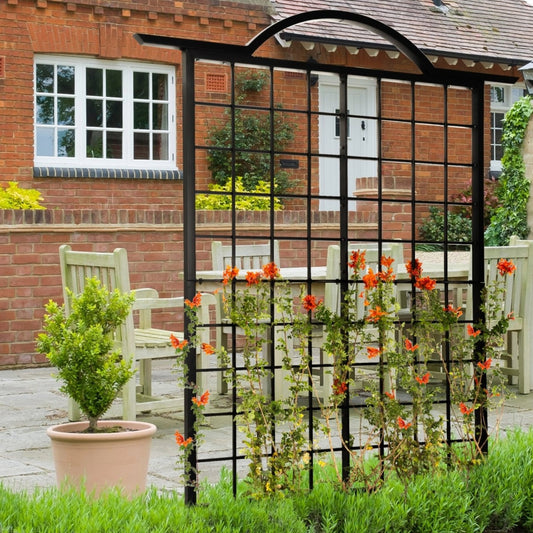
Hanging a Wall Trellis on Masonry
In a previous Metal Wall Trellis article we explored the wonderful uses of wall trellises and how to mount a wall trellis in a wooden or aluminum based wall stud construction. If you are mounting a hanging wall trellis in a wooden wall and are looking for information pertaining to your situation refer back to the first wall trellis article in this series. However, if you are mounting your trellis to masonry, whether that is a wall such as brick or concrete, you are on the right track.
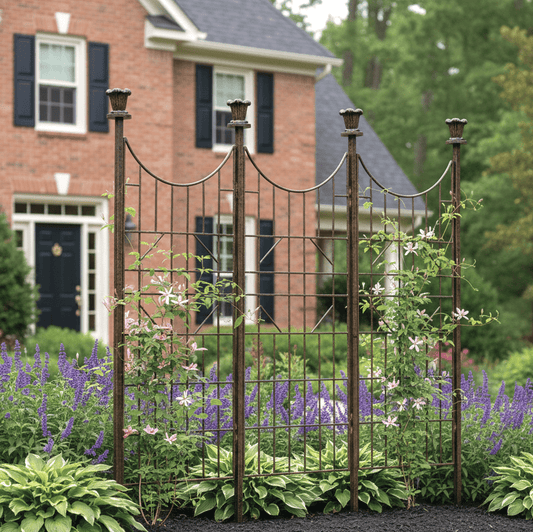
To put it simply, masonry is a bit more complicated than a wooden wall, and as a result will make hanging your wall trellis a more difficult task. A brick wall is a beautiful place to hang a wall trellis and the contrast between brick or concrete and a trellis will certainly shape up a dull wall. The beauty of a wall trellis in masonry is often offset by the difficulty that comes with hanging the trellis, but for the adventurous, the daring-do of the project comes as an invitation.
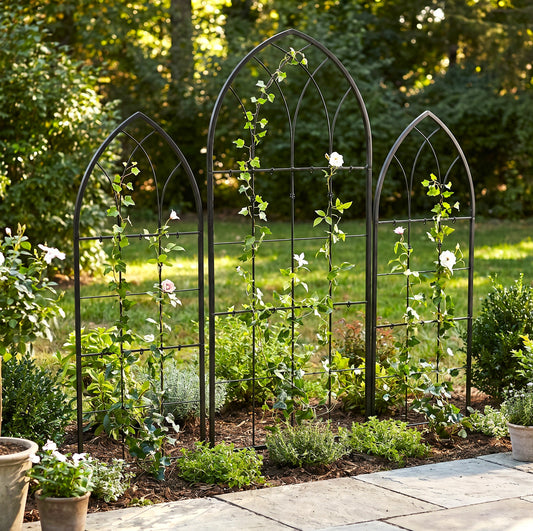
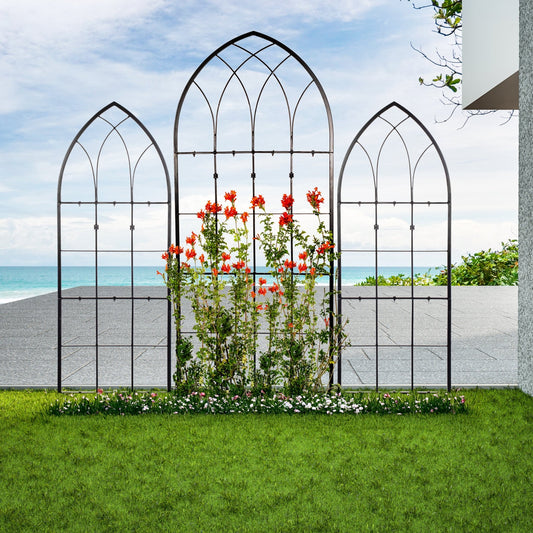
Wall Trellis Installation Guide Series
Installing a wall trellis correctly ensures long-term strength, proper plant support, and a clean finished look. Choose your wall surface below for step-by-step mounting guidance.
The Project
If you have little to no experience in DIY home projects, H. Potter suggests hiring a professional for your own ease and for the protection of your wall. But, if you have some background or experience in home projects, with some effort you should be able to drill into masonry and hang your wall trellis. Now, if you are still with us, let's get started!
You Will Need:
Drill or Hammer Drill
1 to 2 Masonry Drill Bits
Wall Brackets
Lag Bolts
Wrench or Socket
Eye Protection
Mask
Pipe Cleaner or Canned Air
Mop or Shop Vac
Wall Trellis
Some Extra Things Worth Having:
Anchors for Masonry
Masonry Screws
Gloves
Planning the Project
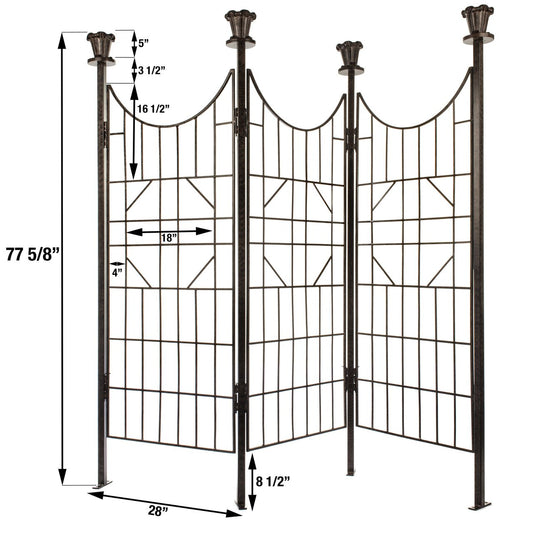
H Potter provides wall brackets that can be used for the majority of wall trellises. These brackets include an L-shaped shelf on which to set the trellis and standard lag bolts to fix the trellis to the wall. Find the right location for your brackets, we suggest that you place two at the bottom of the trellis, where the flat surface will rest well on the brackets. Find other flat surfaces on the trellis that can rest on the brackets to ensure that installation goes as smoothly as possible.
Goal: Choose the right wall brackets and have a game plan!
Start by determining where you want to drill into your wall. Concrete walls are a field for limitless possibilities, as you should be able to simply drill your pilot holes wherever you might please. This makes hanging anything from a concrete wall easy to plan for. Brick walls will present a slightly more difficult planning process. You will first want to determine whether or not you want to drill into either the brick or the mortar. Drilling into the brick can sometimes weaken the brick’s structure and if the brick is hollow or relatively old, drilling directly into a brick may not be the route for you. The mortar is often the safest spot to drill your pilot holes as it has enough elasticity to weather any slight movement in the structure, while having the strength to keep the wall in one piece. For this reason, drilling your pilot holes in the mortar will likely lead to a higher degree of success. (And don’t forget that if you make a mistake drilling into the mortar, it is a lot easier to find mortar filler at the local hardware store, than it is to find a matching color brick filler).
Goal: Mark the location of pilot holes, taking into account the material you will anchor in. Make sure all marks are level to save yourself any extra work!
Now that you have figured out where the wall trellis will hang and have identified the strongest part of your wall to prevent potential damage to the masonry we can start preparing to drill pilot holes. Purchase a masonry drill bit that is the same size as your bolts or masonry screws. Keep in mind that it will be far more difficult to drill through masonry than through other materials. While a standard drill may work for some walls, if you are drilling deep into brick or concrete a hammer drill is necessary. By using a standard drill you risk burning out the battery and may either get a bit stuck or simply not have the power to finish drilling the pilot holes. A hammer drill will make this job significantly easier. Though you may have to rent or purchase a hammer drill, it will get the pilot holes drilled without the risk of burning out your own standard drill. Once you have selected the drill you will be using, make sure that you are equipped with eye protection and also have some type of mask (N-95’s are a common and effective mask to use) to filter out the potentially harmful silica that will be generated by drilling into brick or mortar.
Goal: Choose the right drill for the job, safety first!
Begin drilling the pilot holes with the drill and masonry drill bit. If the drill bit slips initially, apply a little pressure to allow the bit to grab enough material to begin the hole (Caution: both the drill bit, battery pack, or parts around the drill bit will be extremely hot and may cause harm if touched by bare skin). Make sure that the holes are completely level and are in the right spot to prevent future headaches. Make sure to occasionally pause as you are drilling. Pausing achieves a dual purpose, you should allow the drill time to cool and you should also use either compressed/canned air or a pipe cleaner to clean masonry particles out of the hole so drilling goes more smoothly.
Goal: Don’t get in a rush, drill your pilot holes in the safest and most efficient way possible.
When you have finished the pilot hole make sure to clean any residual material or dust in the pilot hole, so that screws or bolts won’t wiggle too much. You may need to put concrete or mortar anchors in, this can be done by gently and slowly tapping the appropriately sized anchors into the pilot hole with a hammer or a rubber mallet. While this is an extra step it will be worth it if you are hanging a heavier trellis. If, however, you choose not to use anchors, you can begin to screw the lag bolts or masonry screws into the wall to secure your wall brackets. Once you have secured the brackets to the wall you will be ready to hang the wall trellis.
Goal: Clean the Pilot Holes, add anchors, attach brackets to the wall.
With the help of another adult, lift and place the metal wall trellis on the brackets to complete the project. Congratulations, this unique piece of art will make your wall stand out among others.
Goal: Place trellis on the brackets, step back and admire all your hard work. It's amazing!